
Charting a course into the digital marketplace can often feel like embarking on an exhilarating adventure, filled with twists, turns, and the promise of new opportunities. Whether you’re a seasoned merchant seeking new horizons or a daring newcomer ready to explore uncharted territories, these guides serve as your passport to an exciting expedition into the world of online commerce.
Signing Up on Hamza
Signing up on Hamza.biz is a simple process. Here’s a step-by-step guide:
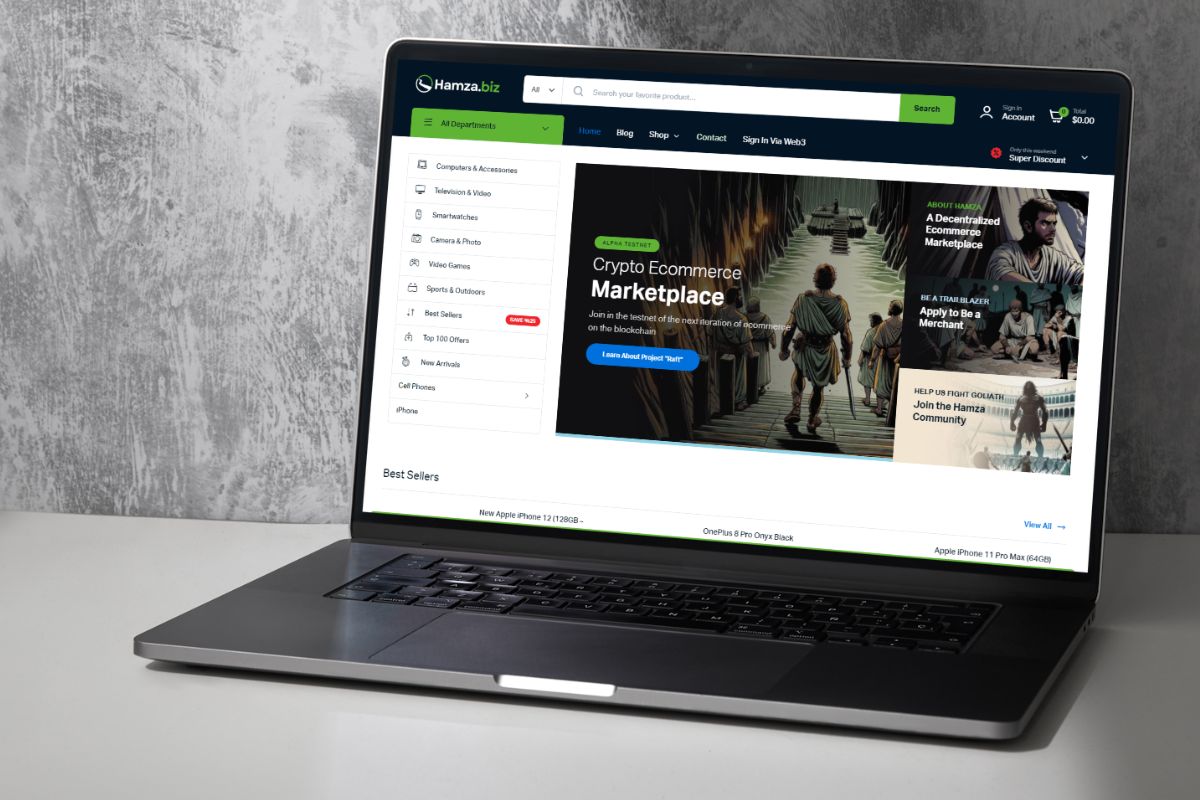
Go to Hamza.biz: Open your preferred web browser and type “hamza.biz” in the address bar. Press Enter to navigate to the Hamza.biz website.
Access the Sign-in/Account Section: Once the website loads, look for the upper right corner of the homepage. You should see a button or link labeled “Sign In” or “Account.” Click on it to proceed.

Click on “Navigate to Web3 Login Page”: After clicking on the Sign In/Account button, you will likely be directed to a login page. On this page, look for an option or link that says “Navigate to Web3 Login Page.” Click on it to proceed to the Web3 login page.

Connect Your Web3 Wallet: On the Web3 login page, you’ll see options to connect your Web3 wallet. Follow the prompts provided on the page to sign up for a new account on Hamza.biz. This involves connecting your Web3 wallet.

Authorize Access: After selecting your wallet, you’ll be prompted to authorize access to your wallet by the Hamza.biz website. Follow the prompts provided by your wallet interface to approve the connection.
Complete Authentication: Once your wallet is connected and access is authorized, the Web3 authentication process will complete automatically. You’ll be signed in to your Hamza.biz account using your Web3 wallet credentials.

Start Using Hamza.biz: Congratulations! You have successfully signed up for an account on Hamza.biz using Web3 authentication. You can now explore the platform, access its features, and engage with its services as desired.
Set Up Your Profile (Optional): After signing in, you may have the option to set up your profile by adding additional information such as Display name, Email, etc.
Becoming a Hamza Vendor
Here’s a step-by-step guide to becoming a vendor on Hamza:
If You Have Signed Up with Hamza:
Sign In: Visit hamza.biz and sign in to your account using your credentials.
Access Dashboard: Once logged in, click on your account name located in the upper right corner of the page. This will take you to your account dashboard.
Apply as a Vendor: On your dashboard, look for an option to apply as a vendor. You may find this option labeled as “Become a Vendor.” Click on it to proceed.

Fill out the Form: A form will appear where you need to provide necessary details for your vendor application. Fill out the form accurately with the required information.
Setup Wizard: After submitting the form, a setup wizard will pop up. This wizard will guide you through the process of setting up your store and payment setup. Follow the prompts provided by the wizard to complete the setup.
Access Store Dashboard: Once your setup is complete, you will have access to your store dashboard. Here, you can manage your products, orders, and other aspects of your store.

Await Approval: Note that your account will not be able to sell products until it’s approved by the admin. If your account hasn’t been approved yet, contact the admin for further assistance.
If You Haven’t Signed Up and Want to Apply as a Merchant First:
Fill out the Merchant Application Form: If you haven’t signed up for an account on Hamza yet and want to apply as a merchant first, you can fill out the Merchant Application Form available at the following link: Merchant Application Form.
Provide Details & Submit: In the form, you’ll need to provide necessary details about yourself and your business.Once you’ve filled out all the required fields, submit the form.
Wait for Response: After submitting the form, wait for a response from the Hamza admin regarding your merchant application.
Follow Steps for Existing Hamza Users: Once your merchant application is approved, you can follow the steps mentioned above for existing Hamza users to become a vendor and set up your store.
By following these steps, you’ll be able to apply as a vendor on Hamza and start selling your products on the platform.
Adding Products to the Store
Here’s a step-by-step guide on how to add your first product on Hamza.biz:
Ensure You’re an Approved Vendor:
Before adding your first product, make sure you’re an approved vendor on Hamza.biz. If you haven’t become a vendor yet, follow the steps outlined in the previous guide to apply as a vendor.
Adding Your First Product:
Log In and Visit Your Vendor Dashboard: After becoming an approved vendor, log in to your account on hamza.biz. Once logged in, navigate to your vendor dashboard.
Access Products Page: On your vendor dashboard, look for the “Products” option in the left navigation bar. Click on it to go to the products page.

Click on “Add New Product”: On the products page, you’ll find an option labeled “Add New Product.” Click on this button to start adding your product.

Fill Out Product Details: A form will appear where you need to fill out the necessary details of your product. This includes information such as the product image, description, price, and any other relevant details. Make sure to provide accurate and compelling information to attract potential buyers.
Create Product: Once you’ve filled out all the necessary details of your product, click on the “Create Product” button to add it to your store.

Import Products from CSV (Optional): Alternatively, if you have a large number of products to add, you can import them from a CSV file. Look for the option to import products and follow the prompts to upload your CSV file.

Pending Review by Admin: After adding your product, it will be in a pending review status by the admin. This means it’s not yet visible on the marketplace. You will be notified once your product has been approved and is live on the marketplace.

By following these steps, you’ll be able to add products on Hamza.biz and start showcasing your offerings to potential customers. Make sure to regularly update and maintain your product listings to keep them accurate and engaging.
Charting Your Course: Visit Hamza Today
Venturing into the realm of online commerce through Hamza.biz offers boundless opportunities for growth and success. By following the steps outlined in our guides, you’ve equipped yourself with the knowledge and tools needed to navigate this digital landscape with confidence.